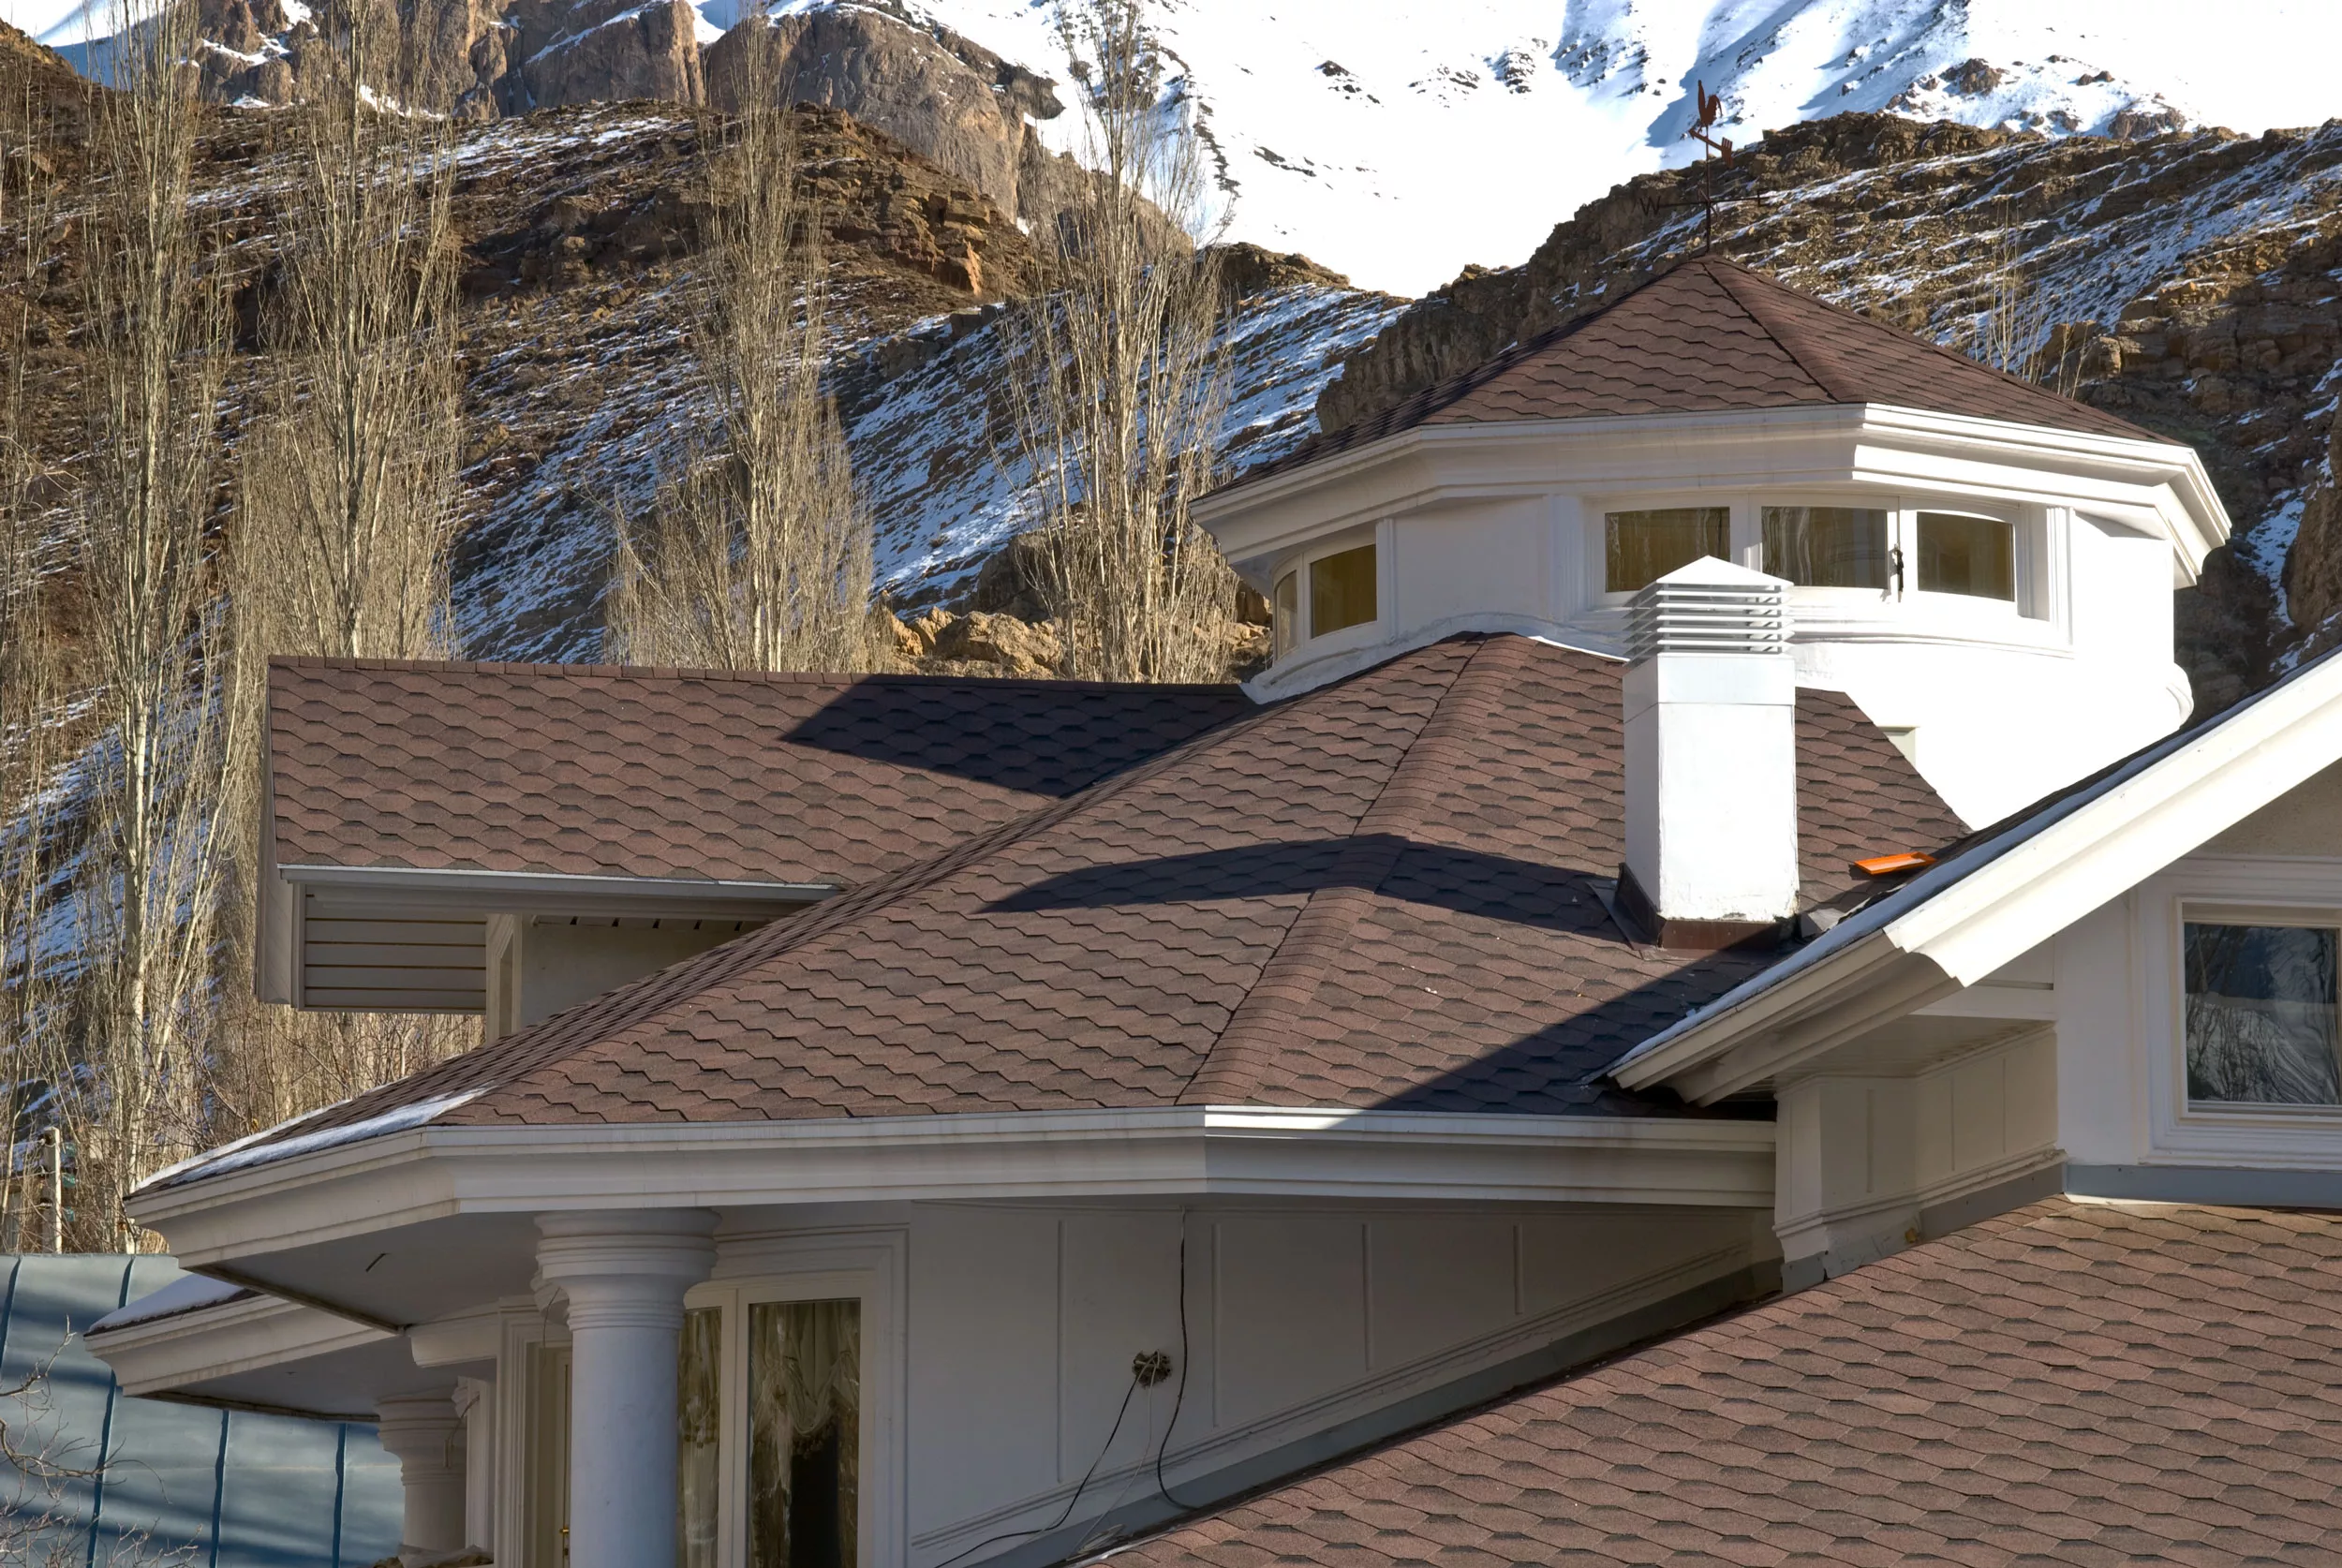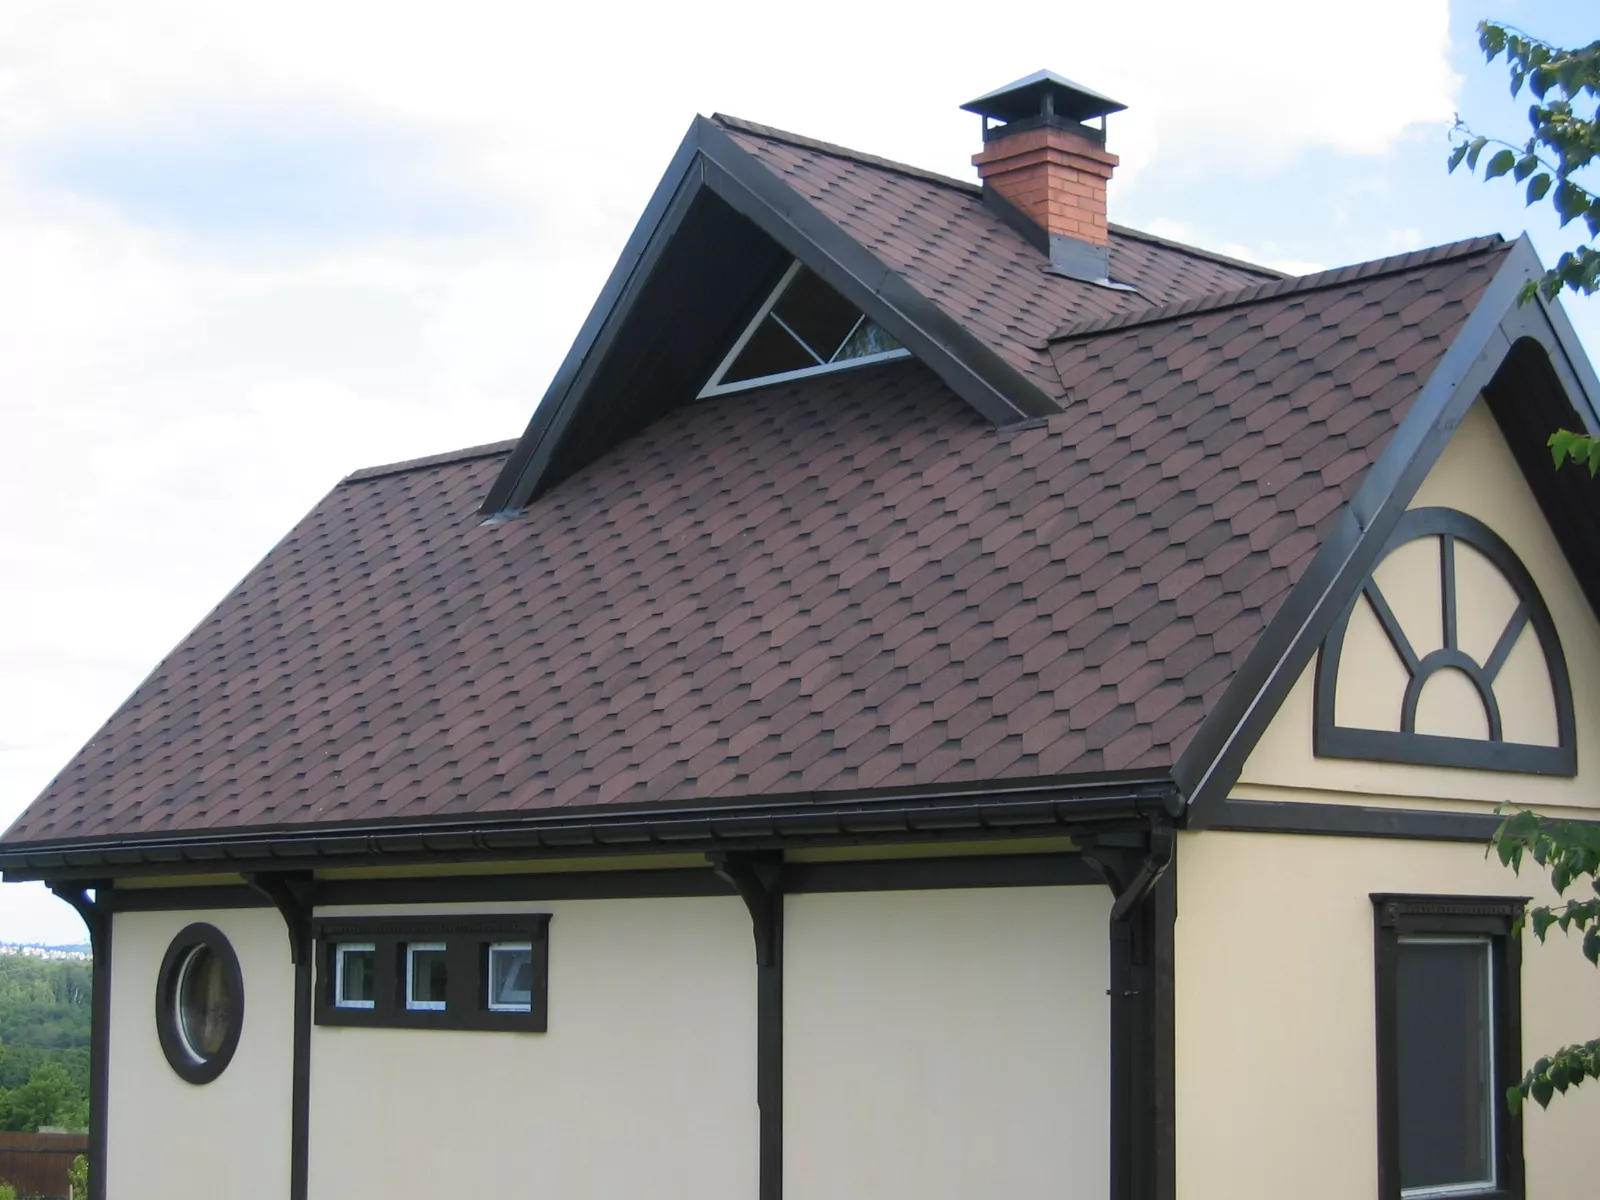
Another look for your hips & ridges with hexagonal shingles
You don’t like the way your hips and ridges look when you use the classic method for hexagonal shingles? Don’t worry, we have another look and feel for you. Check out our following tips!
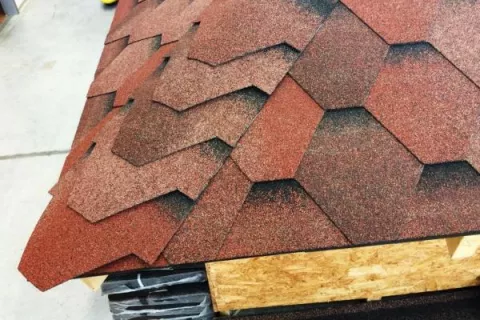
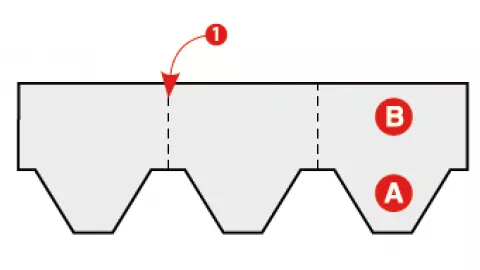
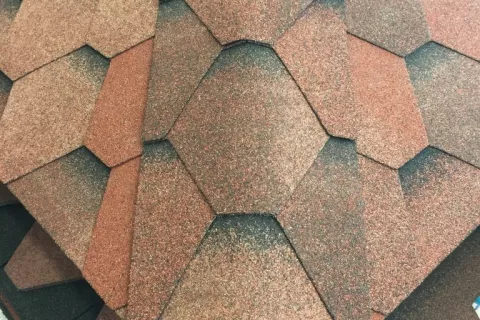
When applying hexagonal asphalt shingles (e.g. ArmourShield PLUS or Superglass Hex) the ridge and/or hip can be made with cutting some hex shingles or rectangular shingles (Armourglass) in the same color.
Many roofers don’t want to buy some extra Armourglass roof shingles for hips or ridges and they force the homeowners to have hips and ridges from the hex shaped shingles, although homeowners don’t always like it.
Hex capping for hip & ridge
Generally we divide the hexagonal shingle (in this case ArmourShield PLUS) with 2 cuts to get 3 full tabs.
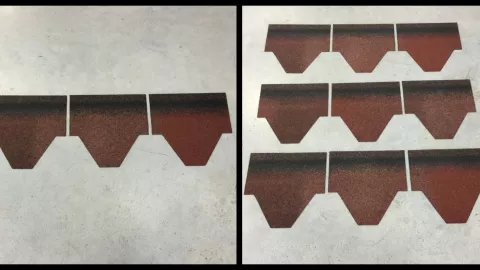
Our tip:
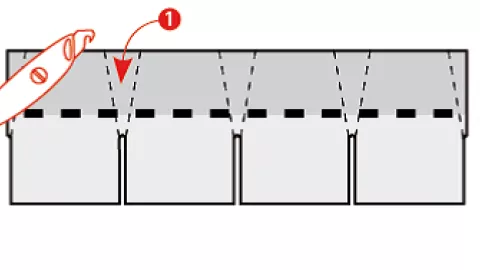
Try cutting the hexagonal shingle with 3 cuts to get these 4 pieces. Lay down these pieces for 3 caps (full-tab or combined by cut-outs).
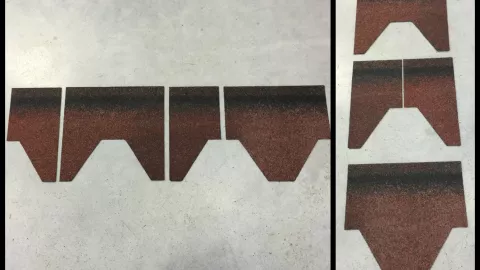
Always trim 2 shingles with 3 cuts and 1 shingle with 2 regular cuts. We need the same amount of full tabs as cut-out parts.
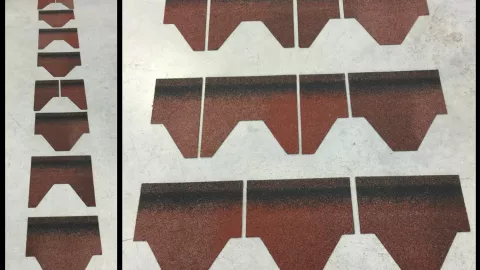
Now you can see the difference on the ground.
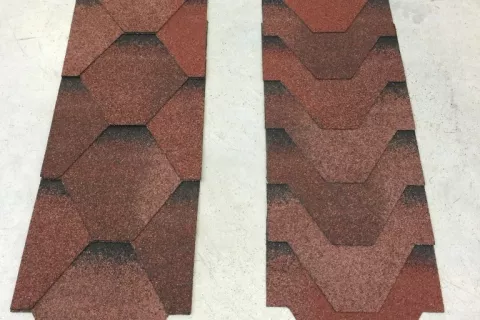
Basic installation and slideshow
1. Start with a full tab and nail the cap shingle with 2 nails 2,5 cm from each side and from the bottom edge. Remember that the nails must be long enough to penetrate both the few layers of shingles and the roof deck. This protects the hip or ridge against wind blow-offs.
Tip: Start the application from the end of the ridge opposite to the direction of prevailing winds.
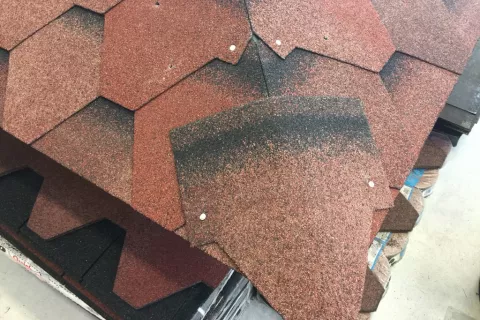
2. Continue with the 2nd piece of cap shingle (cut-out part) and nail this piece in the top corners also 2,5 cm from each side.
Tip: To assist in proper alignment, lay the last piece of capping at the end of hip or ridge and snap a chalk line parallel to the hip or ridge. Your capping application will be perfectly straight.
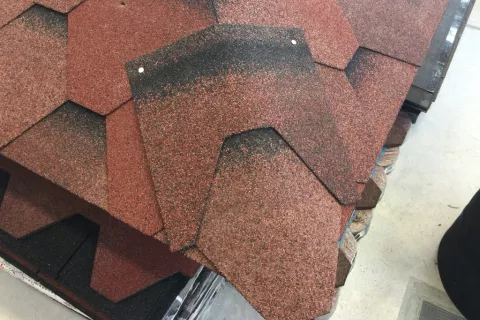
3. The 3rd piece of capping must continue with a full tab and the position of nails is the same as with the 1st piece. Remember: “Exposed nails are not permitted”
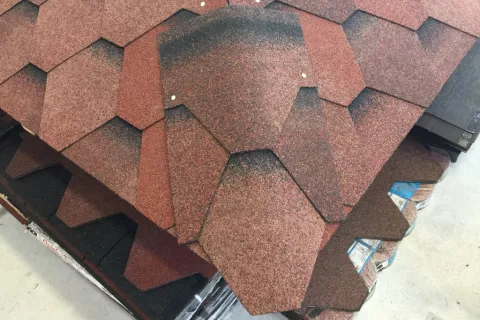
4. The 4th piece is combined from two halves which are fixed with two nails each in opposite corners. These 2 half-tab pieces have to be fixed with 4 nails in total!
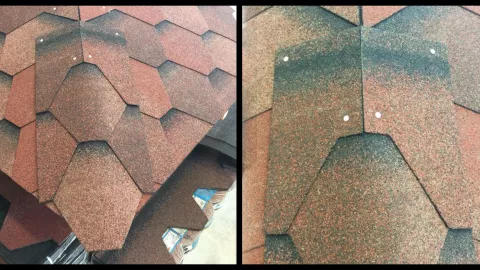
5. Repeat the sequence of the first four pieces up the hip or ridge. The final shingle should be set and the exposed nail heads of this shingle should be covered with Shingle Stick.
Tip: Sprinkle a few granules from the bundle over these Shingle Stick’s dots to make it aesthetically nice.
Remember: “Prior to application in cold weather, store hip and ridge shingles in heated area to allow for easier bending!”

